Inkscape exercise – Common workflows
Basic
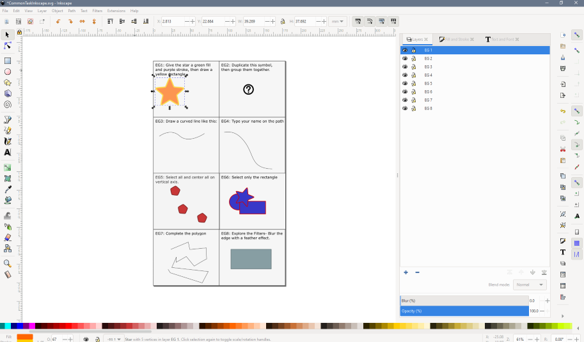
1. Open the Common Tasks file
- Launch Inkscape on your computer
- File > Open > CommonTaskInkscape.svg
2. Explore the interface
Inkscape is a very keyboard heavy program. The help menu or Google can help you navigate.
The vertical toolbar on the left shows Inkscape’s drawing and editing tools. Depending on your screen resolution, the Commands bar with general command buttons, such as Save and Print, can be found either in the top part of the window, right below the menu, or on the right side of the window, in between the scroll bar and the Snap Controls bar.
Above the white Canvas, is the Tool Controls bar with controls that are specific to each tool. The status bar at the bottom of the window will display useful hints and messages as you work.
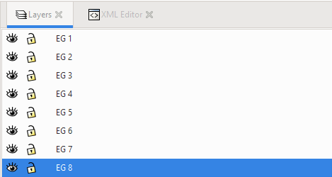
Similar to GIS software, information is organized into layers and sublayers via the layers panel  that can be found on the right side of the page. The layers dialog is an easy way to keep track of items on your canvas, but you cannot drill down to find individual objects.
The XML Editor  and CSS selector
  are where you will find information on individual objects (referred to as nodes)
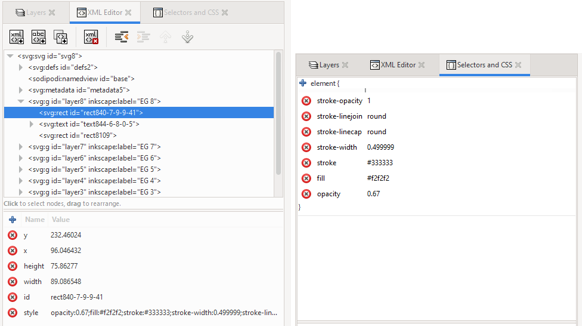
This can be helpful if you are trying to figure out why your object is acting the way it is. Today’s session will not be focusing on this.
3. Navigating the workspace
- To pan the canvas (move around), the easiest is to hold down the ctrl key + arrow keys to move left, right, up or down. You can also use ctrl + b to show the scrollbars.
- There are many ways to zoom your document.
- The Zoom tool
 (in the toolbar on left) lets you to zoom into an area by dragging around it.
 - You can click in the zoom entry field (in the bottom right region of the document window, labelled “Z”), type a precise zoom value in %, and press enter.
- Use the ‘-‘or ‘+’ keys to zoom in and out
- The Zoom tool
- The most used tool is the Selector. Click the topmost button (with the arrow) on the toolbar
 to activate it. In activating an object eight arrow-shaped handles appear around the object.
Now you can:- Move the object by dragging it.
- Scale the object by dragging any handle
With a second click the handles change.
Now you can: - Rotate the object by dragging the corner handles.
While using the Selector, you can also use the numeric entry fields in the Tool Controls bar (above the canvas) to set exact values for coordinates (X and Y) and size (W and H) of the selection.
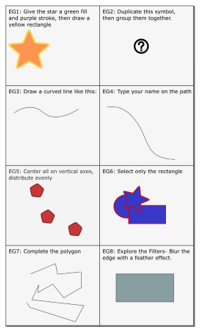
Task 1: Stroke and fill, and drawing new shapes
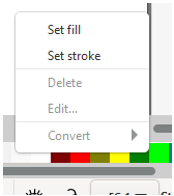
The simplest way to colour an object is select it and click a swatch in the palette below the canvas, right clicking the swatch allows you to select if you want to use the color for the outline or fill.
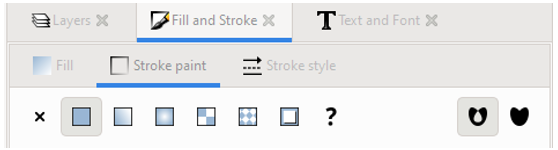
The advanced option is to use the Fill and Stroke dialog  (Found on the toolbar on the right side of the page). Here you can set the fill, stroke colour and stroke style for an object.
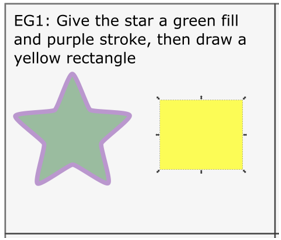
- Select the star and use either method to change the fill as instructed.
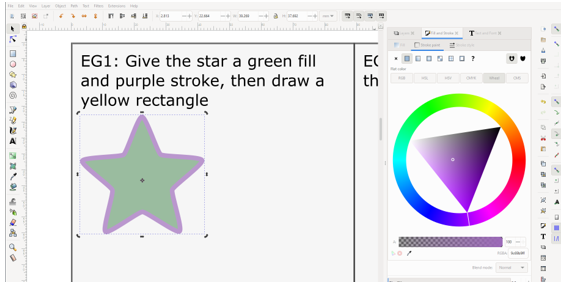
- Select the rectangle tool
 in the left toolbar and draw one next to the star by left clicking and dragging in on the canvas
 - Use the steps above to give it a yellow colour.
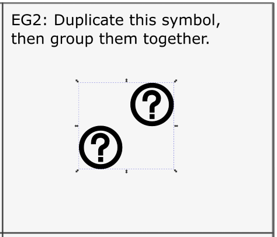
Task 2: Duplicating and grouping
Duplicating an object is a tidier way of copying an object within the workspace. The duplicate is placed on top of the original and is selected, so you can drag it away. It preserves the layer organization.
- Select your object and click the ‘duplicate’ icon
 from the right toolbar.
 - Drag your copy off the symbol so you can see them both.
Several objects can be combined into a group. A group behaves as a single object when you drag or transform it. When maps are exported from QGIS objects within layers are grouped together. - To select multiple objects hold the shift-key down as you click them.
- Right-click and select group, or click the ‘group’ icon
 from the right toolbar.
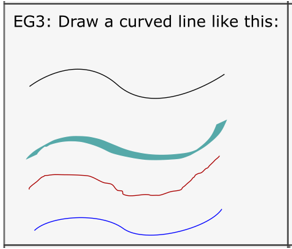
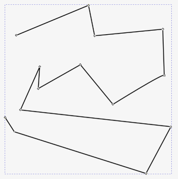
Task 3: Draw a curved line
There are multiple ways to draw a curved line in Inkscape. Bezier  , freehand
  , and calligraphic
  .
.
- Experiment with the line tools from the left toolbar to determine which will make a curved line most like the one drawn in the example box.
Task 4: Text on a path
Sometimes you will want your text to flow with a path. This is common when labeling water features or other linear features such as roads.
- Find or draw a line that you want your text to follow.
- Type some text in the same layer using the text tool

- Select both the line and the text by holding down the shift key while clicking.
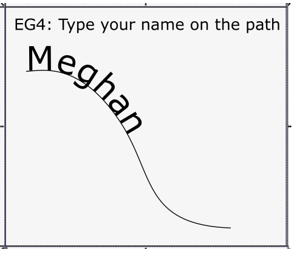
- Click the Text menu from the top of the page and then put on path
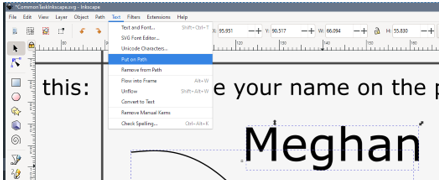
It should look something like:
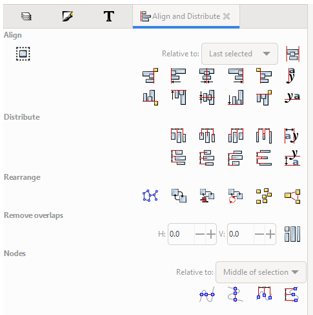
Task 5: Alignment
Inkscape has tools to make aligning and distributing objects more efficient than doing it by hand, especially for layout elements in a map. Here we want to center our pentagons.
-
Click on the Align and Distribute icon
 in the right toolbar. In the dialogue that opens you can see all the different options.
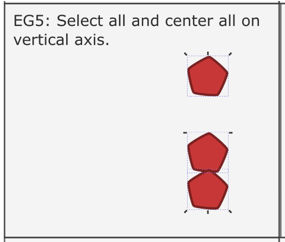
- Hold down the shift key and click each of the three shapes.
- Select the option to center on the vertical axis.
Your workspace should look something like:
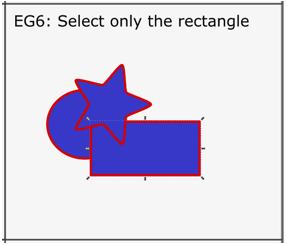
Task 6: Navigating within a group
As was previously mentioned, when objects are imported from QGIS they are often in deeply nested groups which can be frustrating to work with.
- Double clicking is the most intuitive way to access items within a group, but it is not the most efficient.
-
Holding down the ctrl key and clicking the object will in most cases select it.
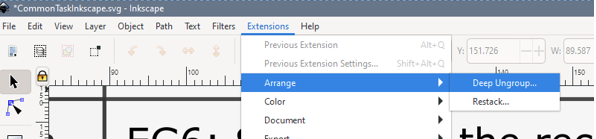
- If all else fails select the Extensions menu (top of the page) > Arrange > Deep ungroup.
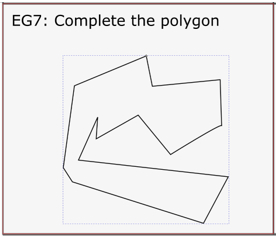
Task 7: Complete a polygon
Often when polygons are exported from QGIS they are broken apart. As such, they may behave in unexpected ways. To close the polygon, we need to find the broken nodes, and join them. This example is obvious, but in practice, these gaps may be much smaller.
- Click the shape once to select it.
-
Select the edit nodes tool
 below the standard selection arrow, and the nodes will appear at each corner.
- Hold down the shift key and select the two nodes you want to join with the pointer (they will highlight quickly).
- Use the keyboard command ‘ctrl + j’ to join the two points.
Your shape should now look like:
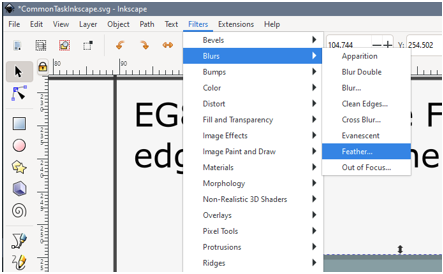
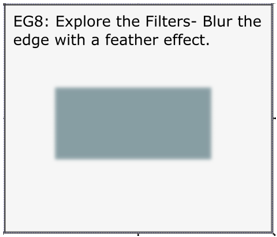
Task 8: Filter an object
In production mapping filtering would be done outside of the vector editing tool using something like Photoshop or GIMP. But for simple effects, or one-off maps using the filters in Inkscape. Here we are going to blur the edge of a box so that it fades more into its surroundings.
- Using the selection arrow select the green rectangle.
-
Click the Filter menu (top of the page) and explore the options available.
- Ctrl + Z will undo any changes you do not wish to keep.
My box looked something like:
Congratulations! You made it through!
Questions? Concerns?
Data: OpenStreetMap, Manitoba Land Inventory, Meteoblue Climate