Workspace set-up & integrating datasets
0. Summary:
In this step we will be exploring the workshop content and making a plan for our story.
This includes:
- Provided workshop data
- Organizational data
- Data attributes
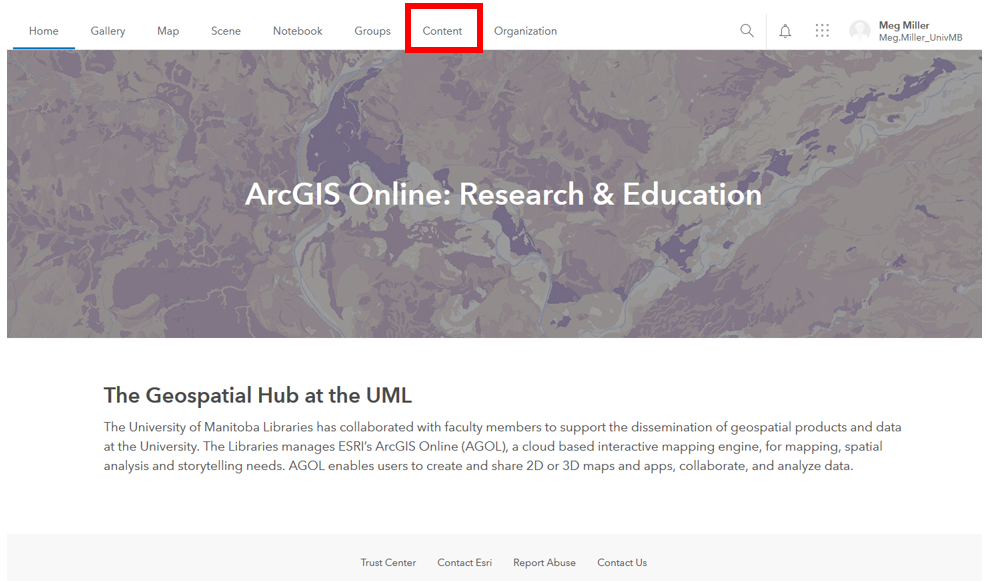
1. Access your Content workspace:
- Access the Content area by clicking on that option in the top navigation.
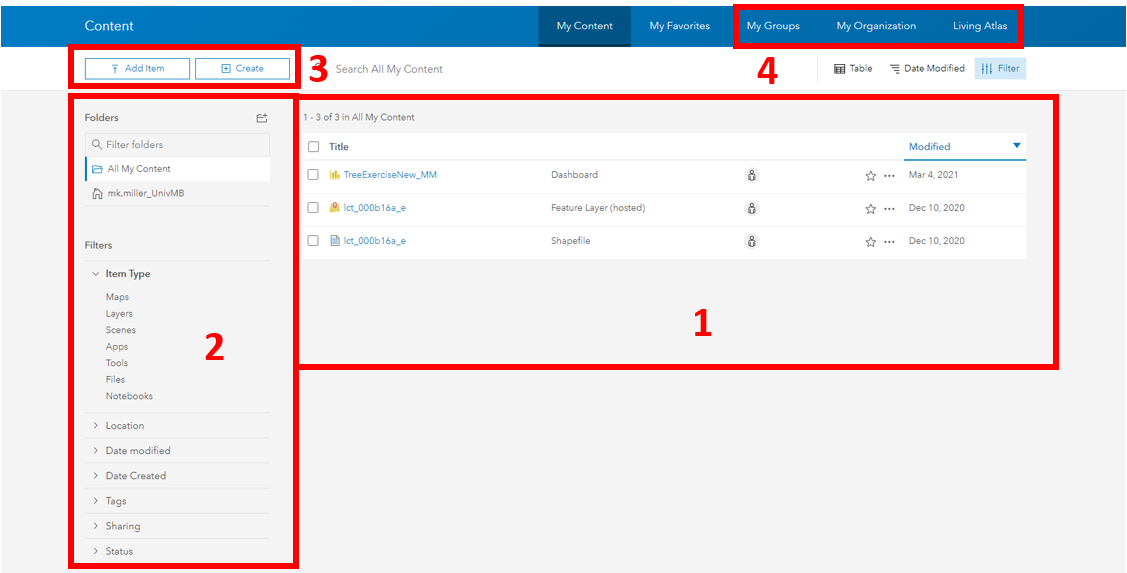
2. Explore the Content Panel:
Numbers 1-4 illustrate the locations of the following elements:
- Personal content (includes all data and objects you have created)
- Filters (allows you to easily limit the things that show up in your content area)
- Create New (one of many ways to create/ add content to your workspace)
- Available content (items that have been shared to you through groups, University of Manitoba or ESRI’s Living Atlas.)
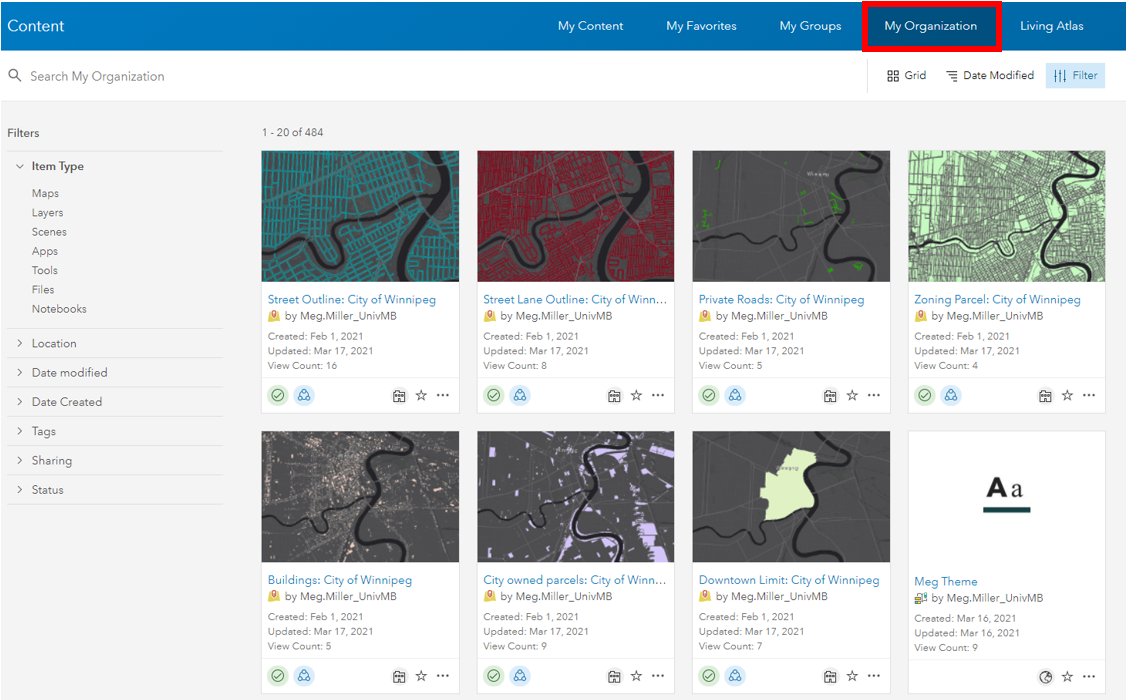
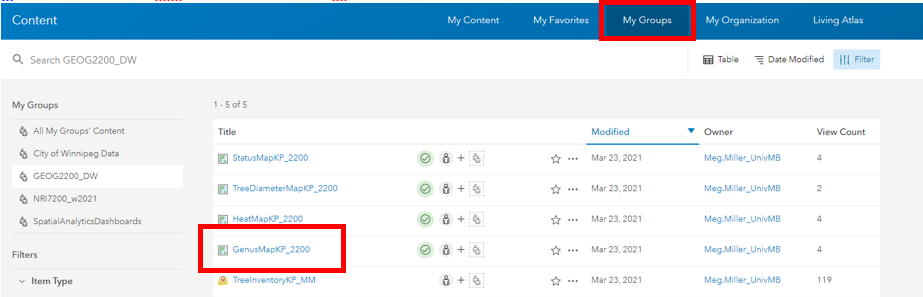
3. View My Organization data options:
- Click on My Organization in the blue Content navigation bar.
-
This brings up data that has been made available to UM users. Not all content here is available for reuse.
-
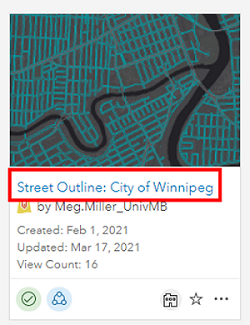
Using the search box search for UM Campus Planning- Public Tree Inventory , click the title to see more details about the file.
-
Now we can see a Description and the Terms of Use for the file, as well as options to explore the data further.
-
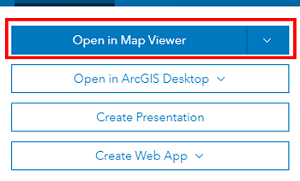
Click on the Open in Map Viewer option.

- Your screen should now look something like:
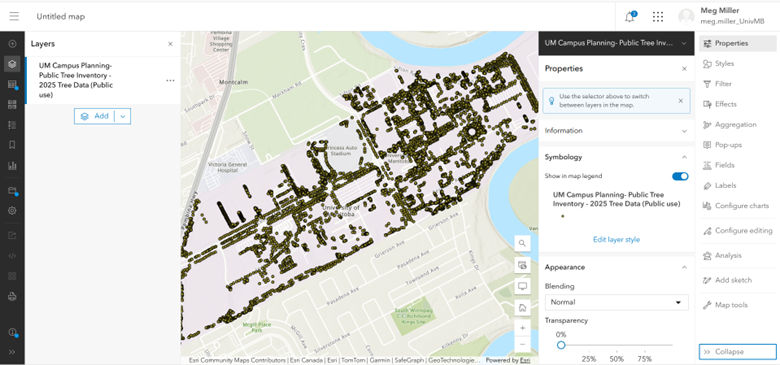
4. Explore the workspace.
Numbers 1-4 illustrate the locations of the following elements:
- Map options (add data, change basemap, share etc)
- Data options (symbology, filters, pop-ups, labels, conduct simple analyses and more)
- Table of Contents (list of layers in your map, show, hide, table, etc)
- Your map workspace
5. Add data that is accessible via URL:
-
Click on the arrow beside the Add data option on the left of your map. Select the add layer from URL option.
- Copy + Paste this url into the dialogue to add other campus assets into your map as well:
https://services7.arcgis.com/qkMZANJ0iIMLiVSJ/ArcGIS/rest/services/UM_Campus_Planning_2024_Exterior_Space_Inventory___Public_Database/FeatureServer
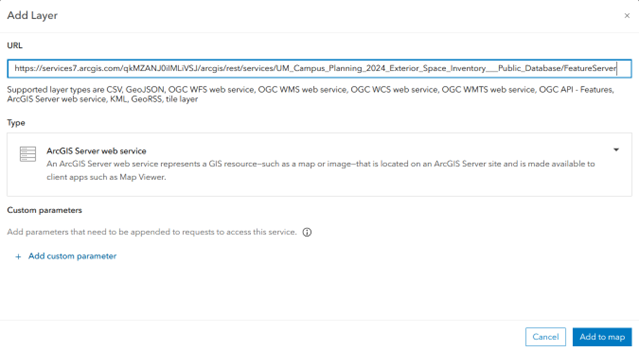
The import wizard should autodetect that it is a web service - Add item to map in the bottom right corner of the wizard.
Your map should now look something like:

-
Save your map by clicking the Save As option left of the map. Your map is now saved to your personal content area.

- We will now move over to the Analysis section to make some maps.